Ubuntu Laptop Provisioning
3 minute read
Overview
This guide will walk you through provisioning an Ubuntu laptop. This guide is using an Ubuntu virtual machine, when installing on a real device some screens may look slightly different.
Prerequisites
Make sure you have an up to date Ubuntu LTS (currently Ubuntu 22.04.1) USB stick on hand. You may get one from the IT admin or create one yourself by following the guide to create an Ubuntu USB stick on Windows or the guide to create an Ubuntu USB stick on Ubuntu.
Boot from Ubuntu USB flash drive
- Insert the USB flash drive and then power on the laptop
- Press
Enterwhen you see the Lenovo logo during boot up - Press
F12to enter the Boot Manager - Select the Ubuntu USB flash drive and press
Enter
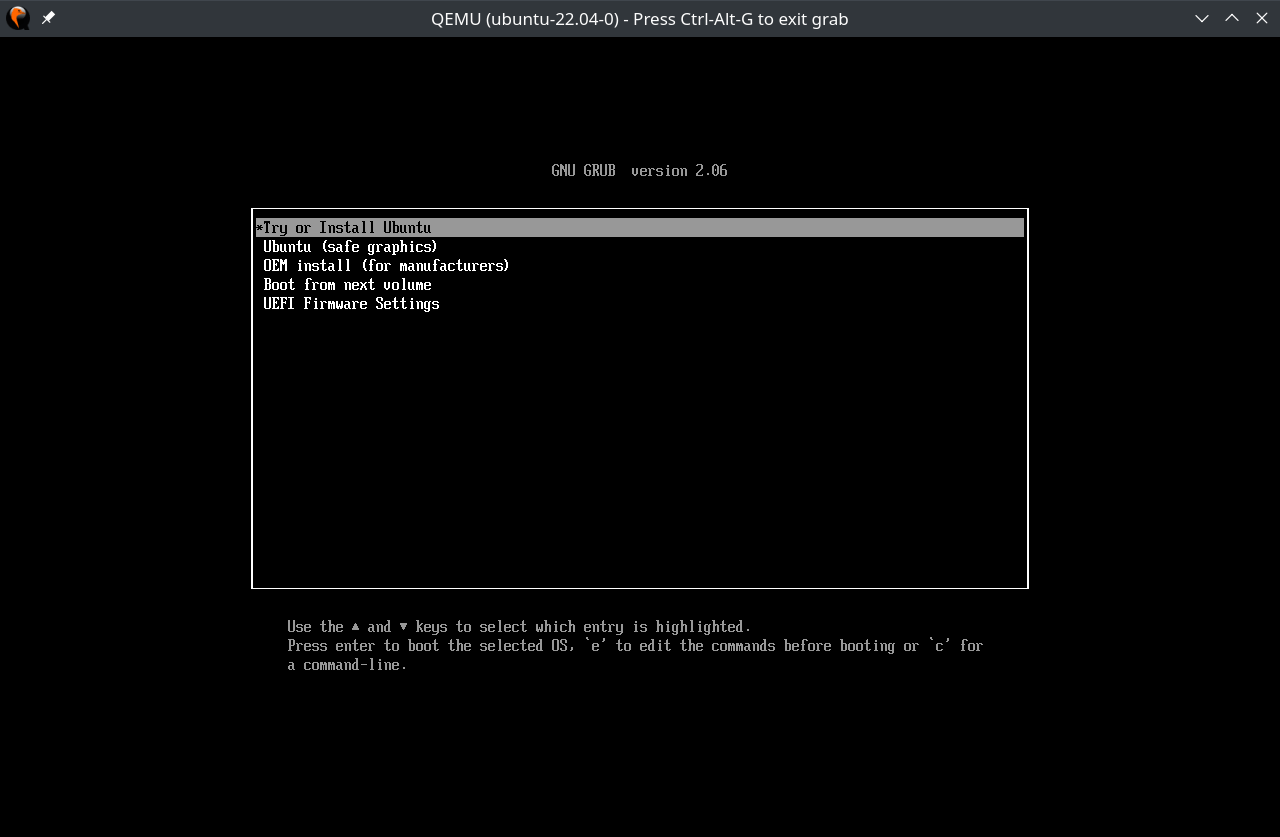
In the boot menu, select Try or Install Ubuntu and hit Enter
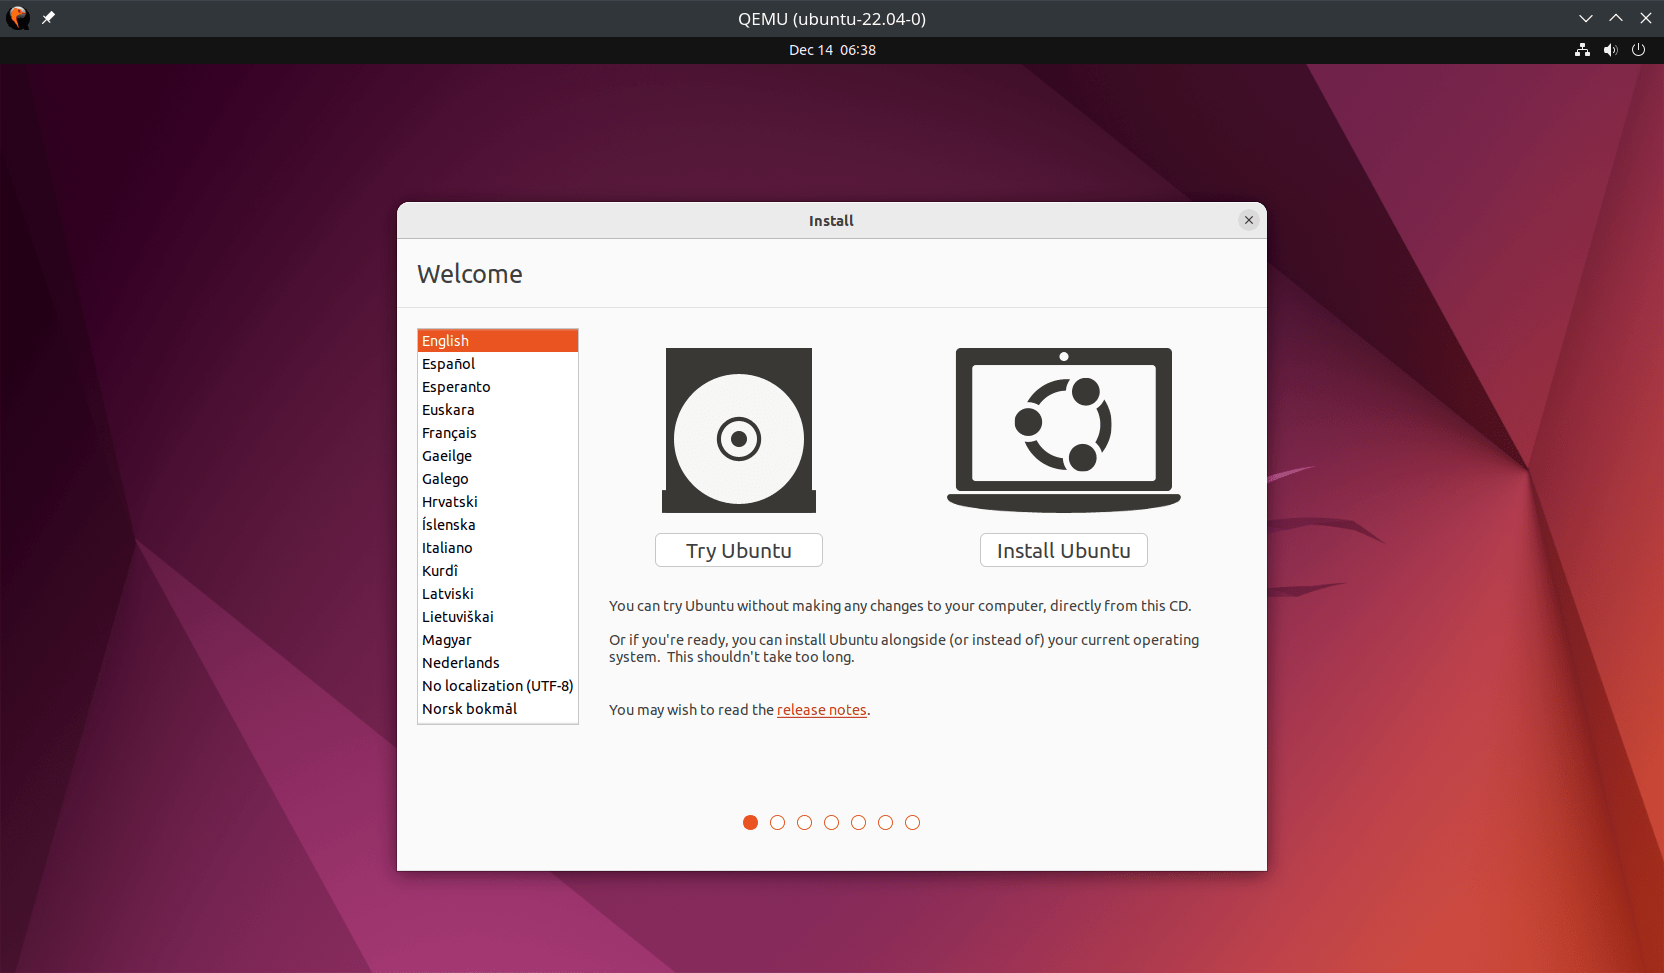
After the live image has loaded you should be presented with the welcome window.
Install Ubuntu
From here you can select your language from a list on the left. Click Install Ubuntu to continue through the steps.
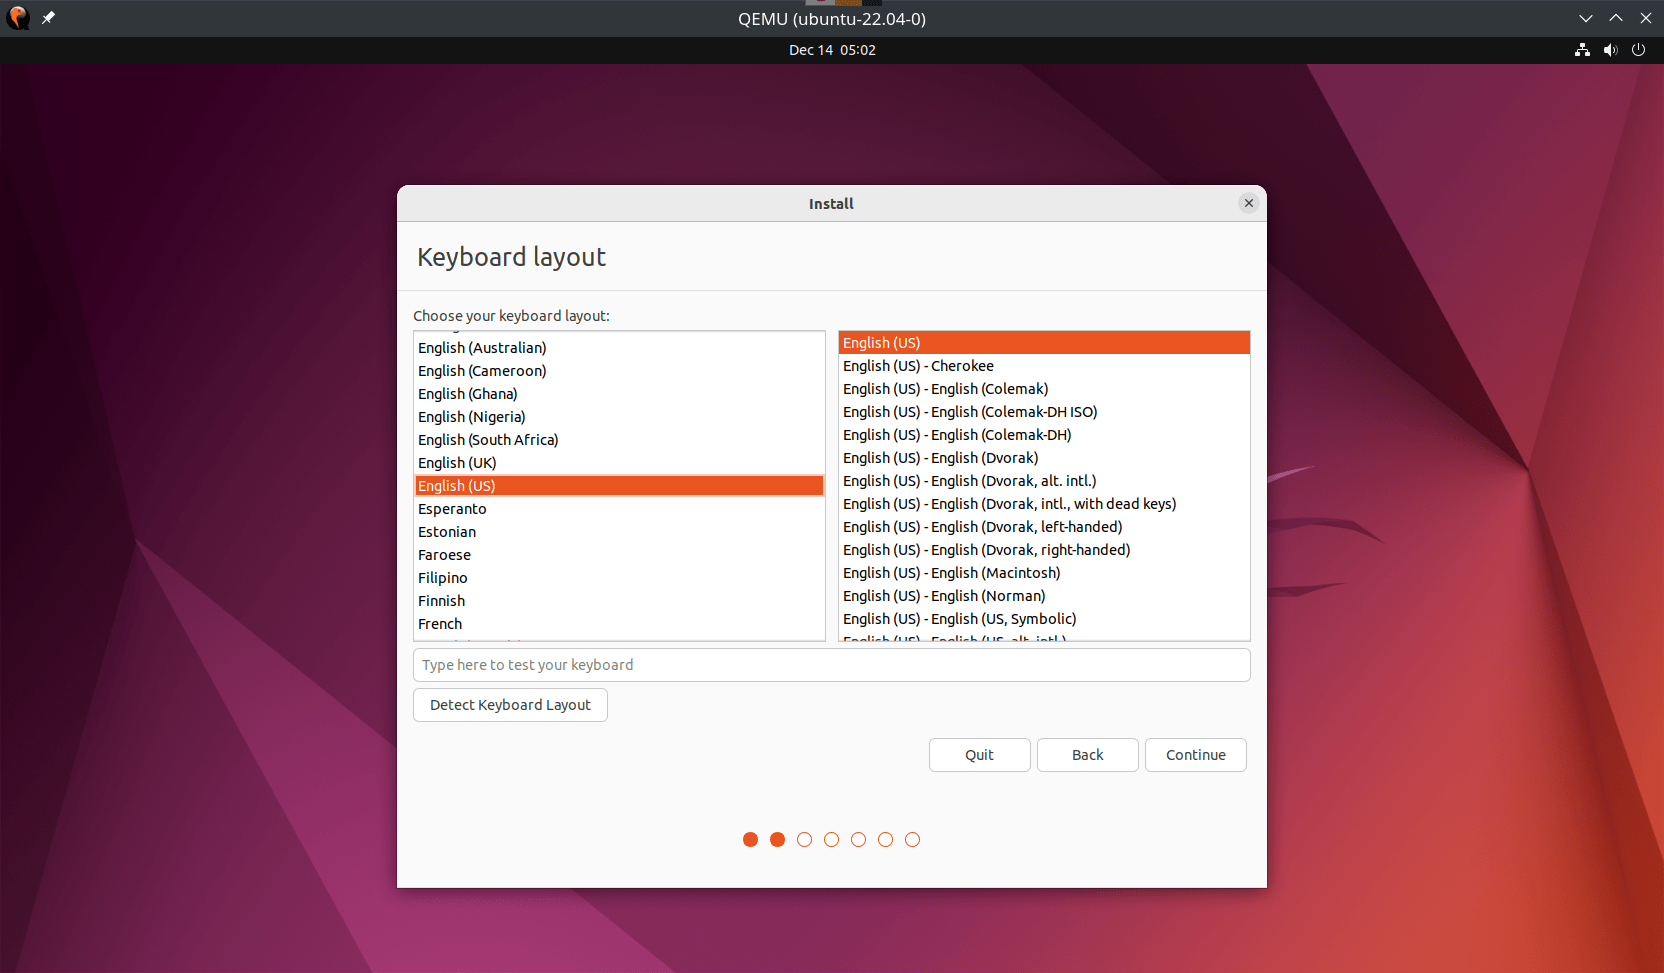
Select your keyboard layout.
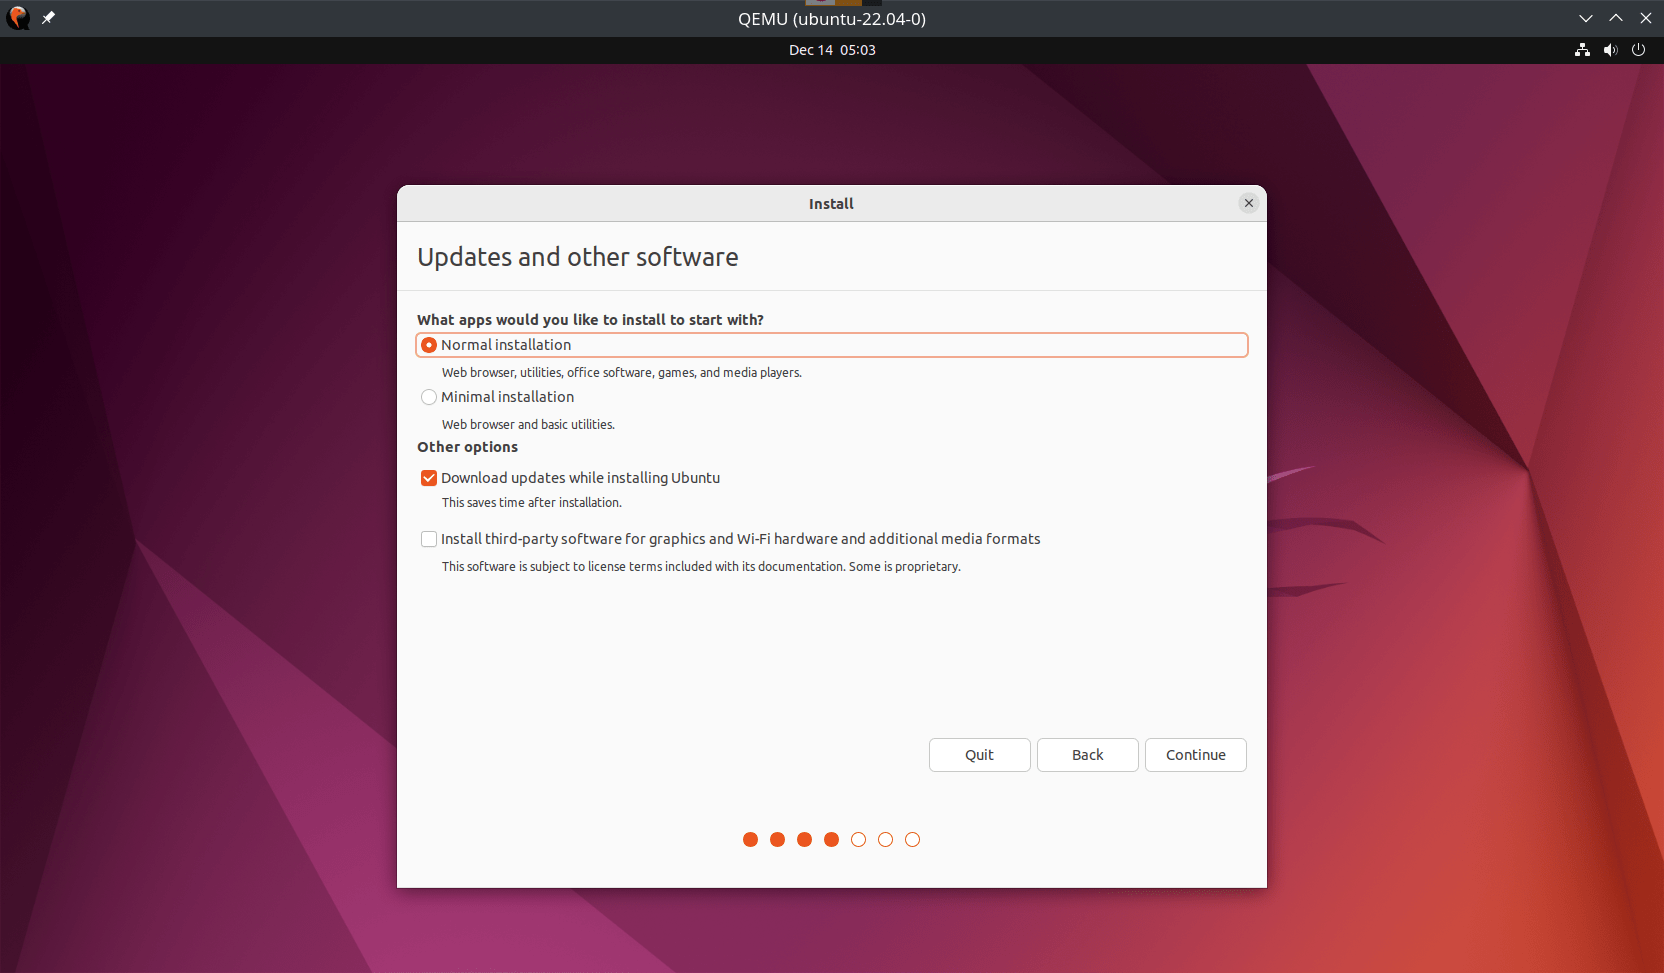
Select a Normal installation and have the installer download updates during installation.
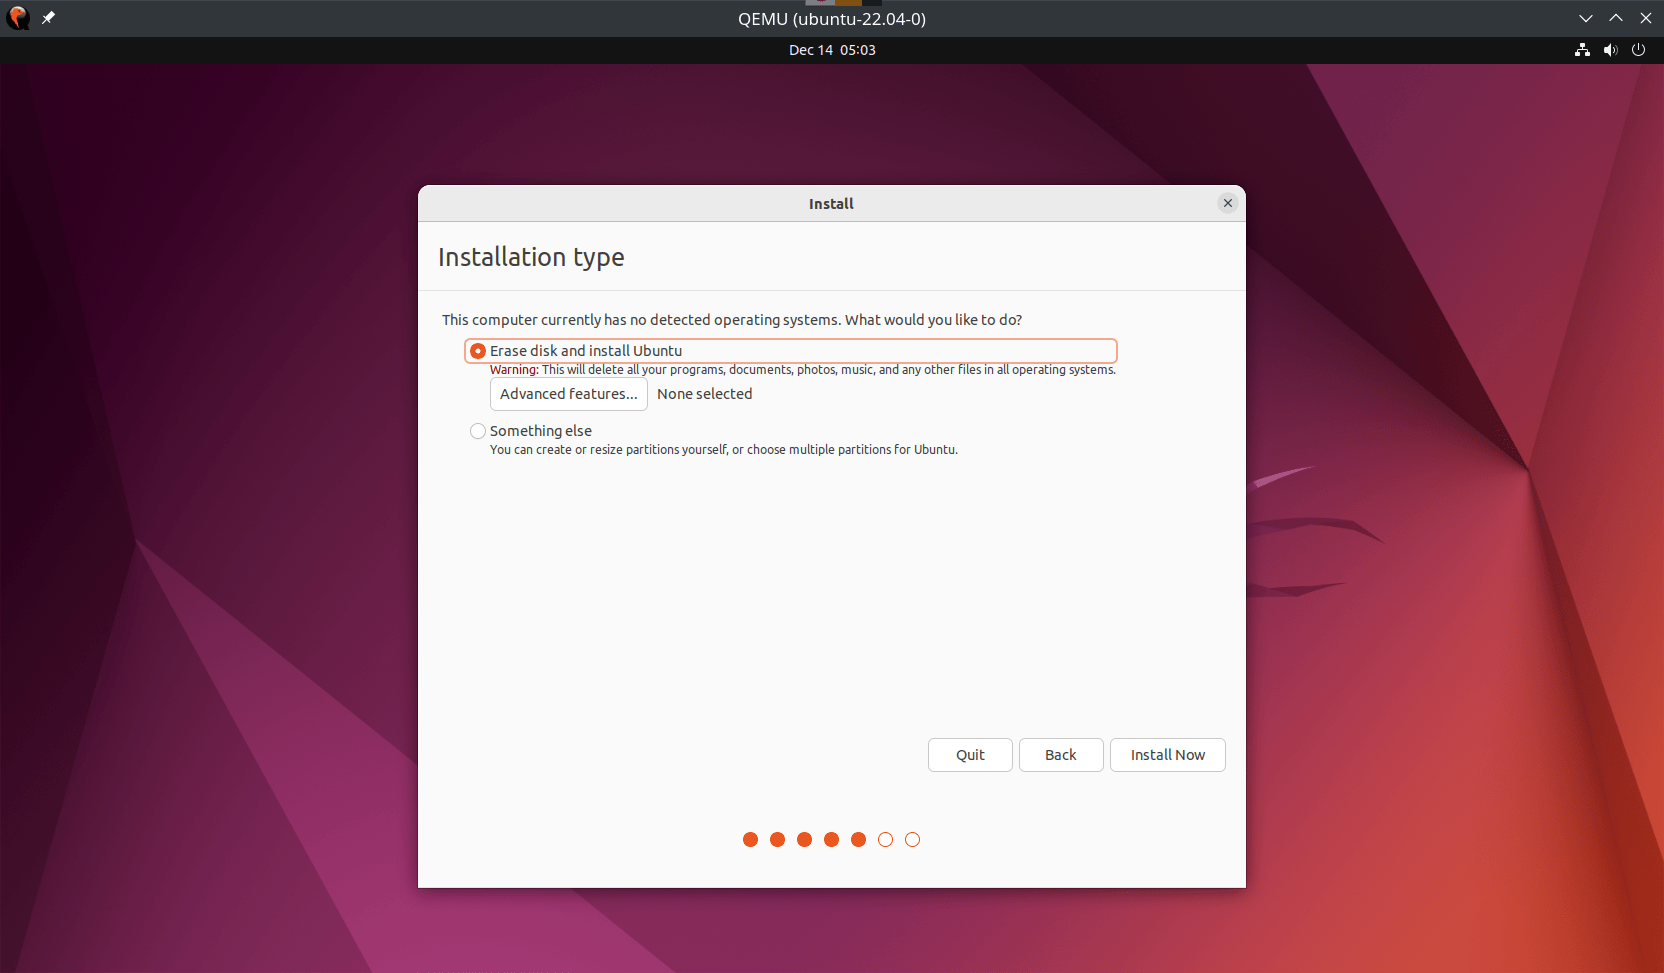
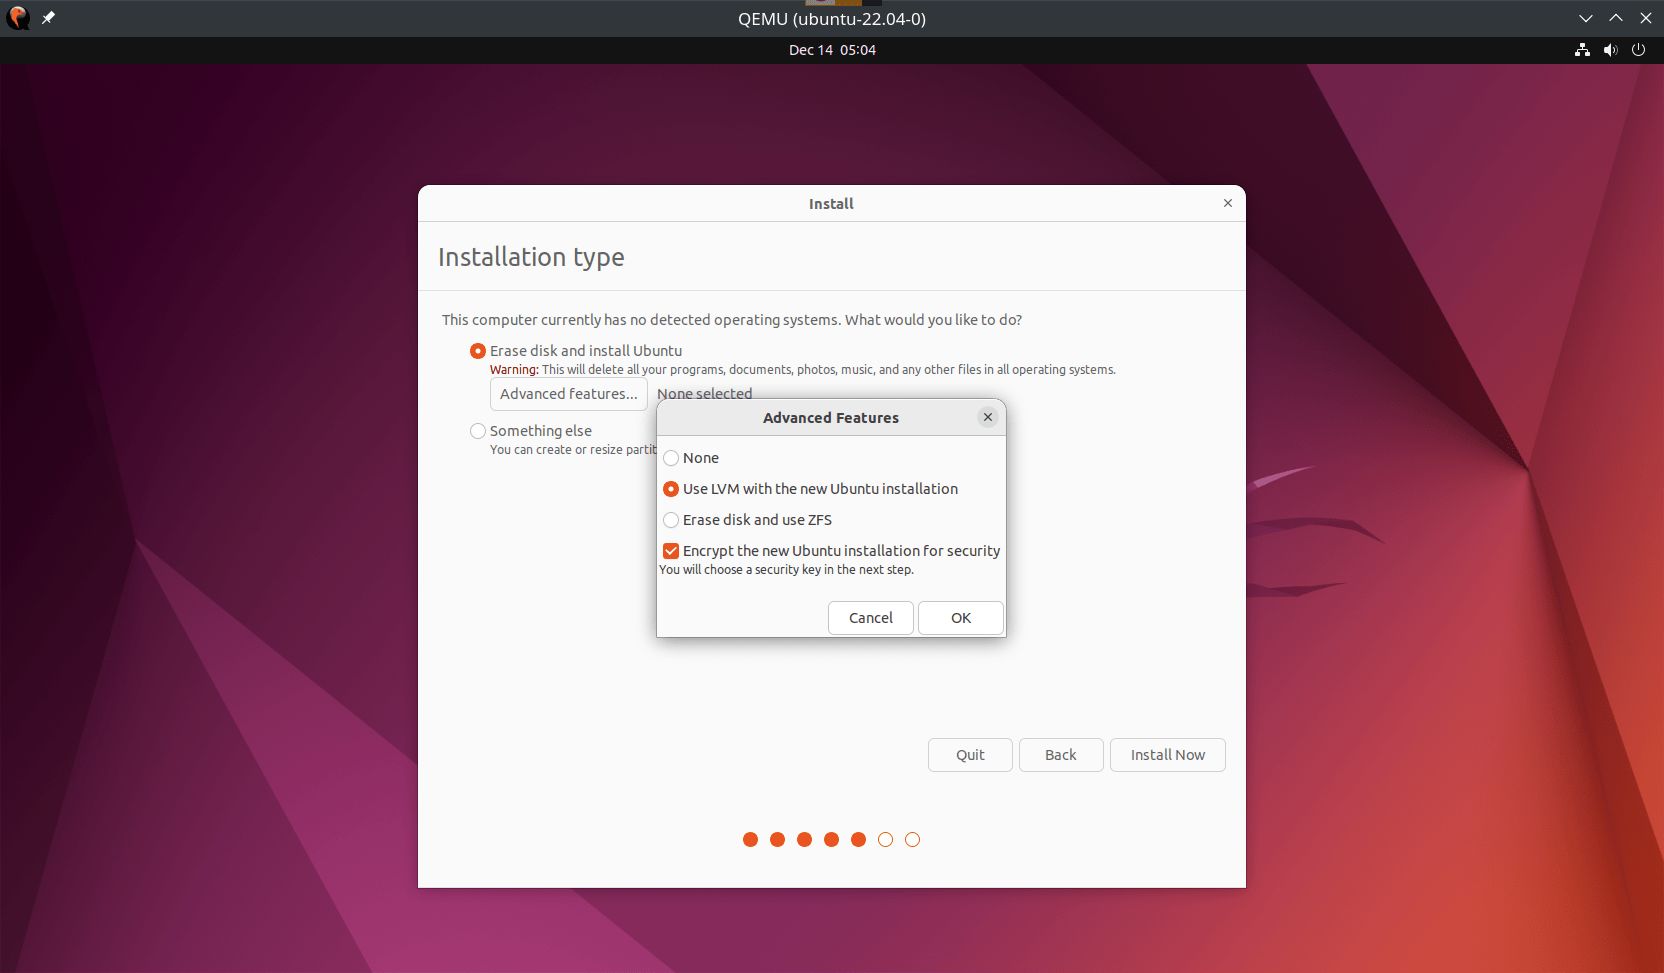
Make sure that the Erase disk and install Ubuntu option is checked, and in the Advanced features... menu select Use LVM with the new Ubuntu installation and check Encrypt the new Ubuntu installation for security.
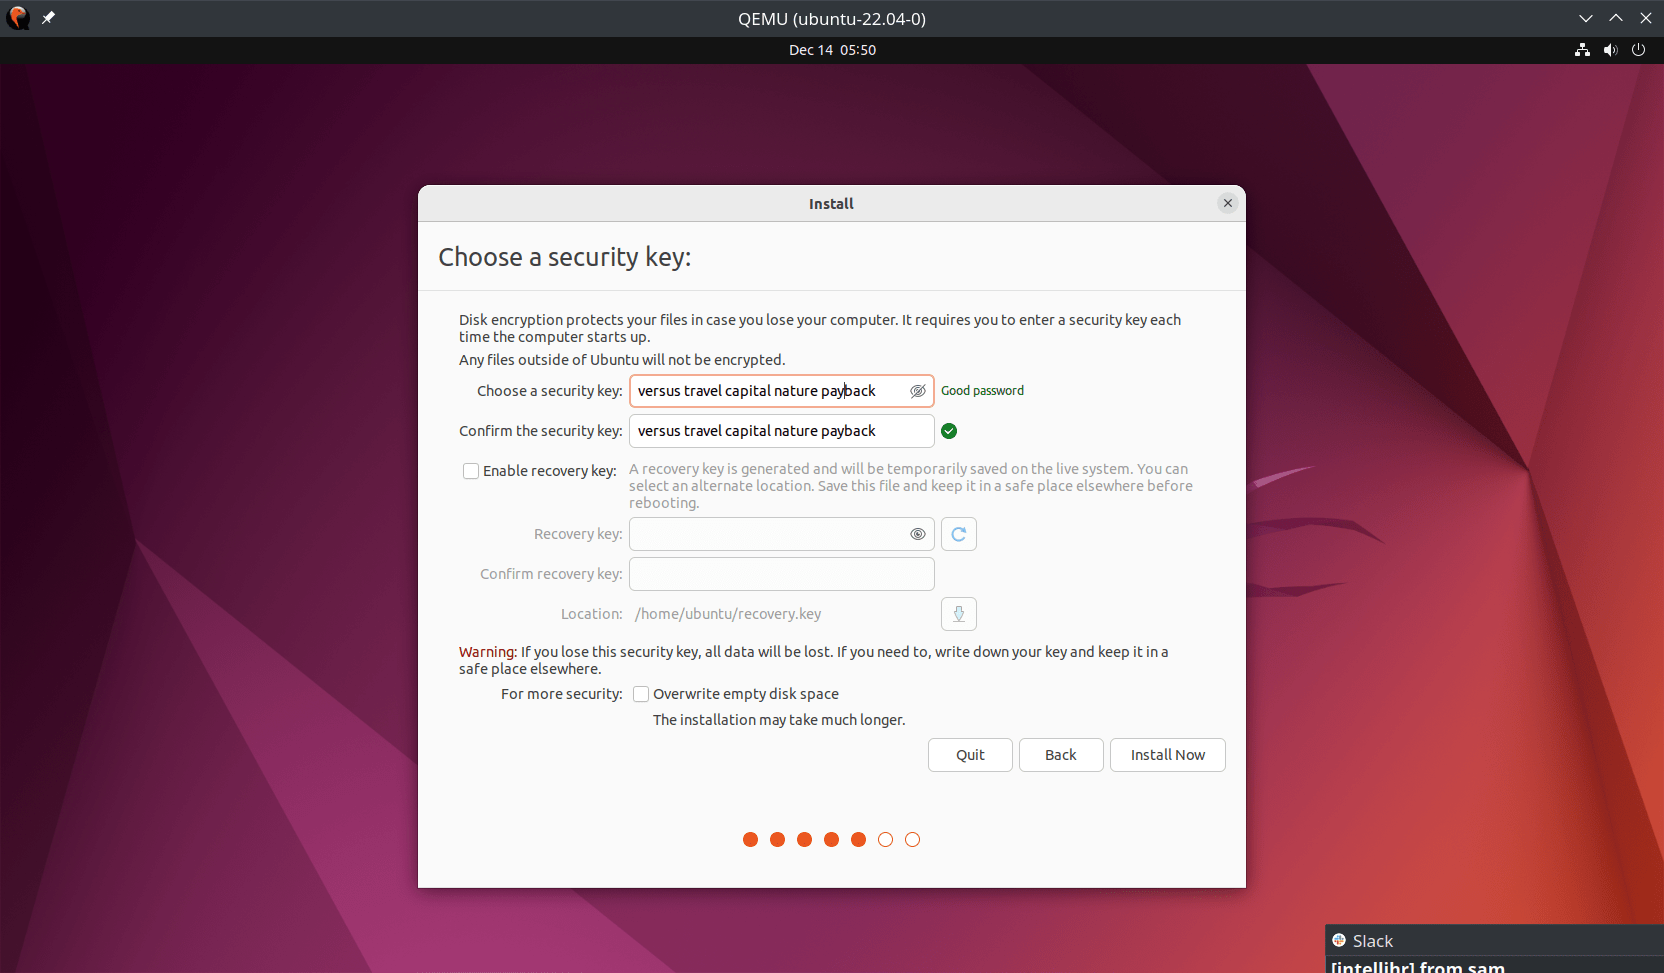
For full disk encryption you need to set a strong, random, security key. They key will need to be entered each time the device is powered on or restarted. This should not be the same as your user account password, or any other password you use for other services.
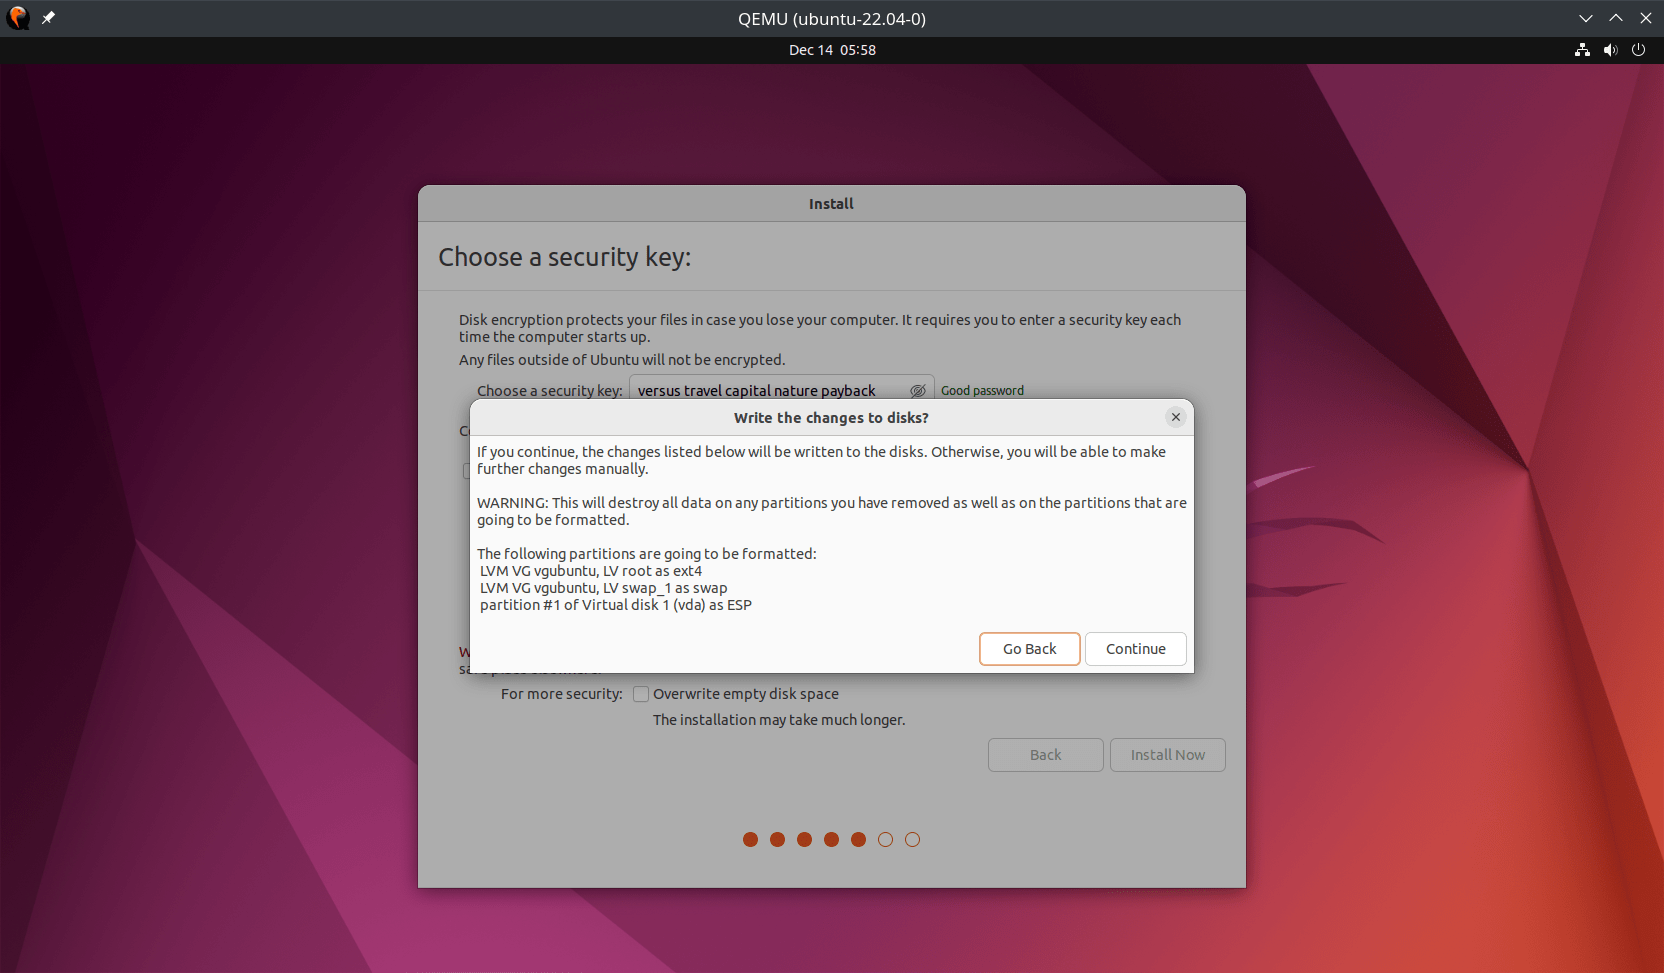
After setting your security key you will be prompted to confirm the changes to the hard drive layout.
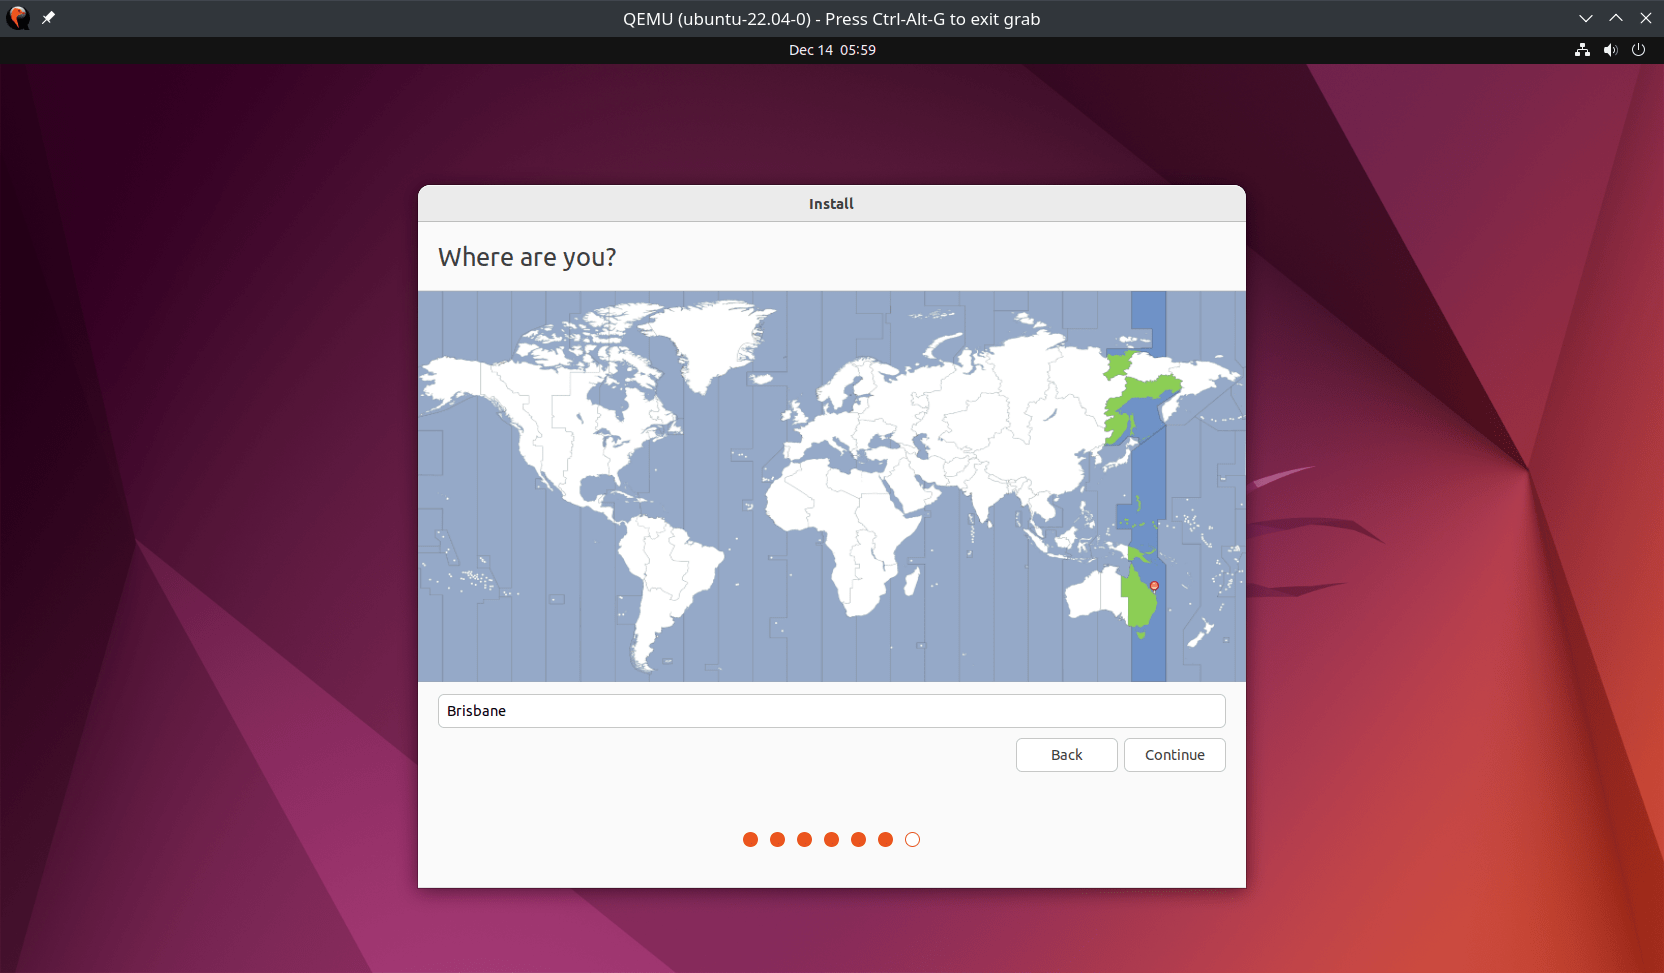
On the next screen, choose your city and time zone.
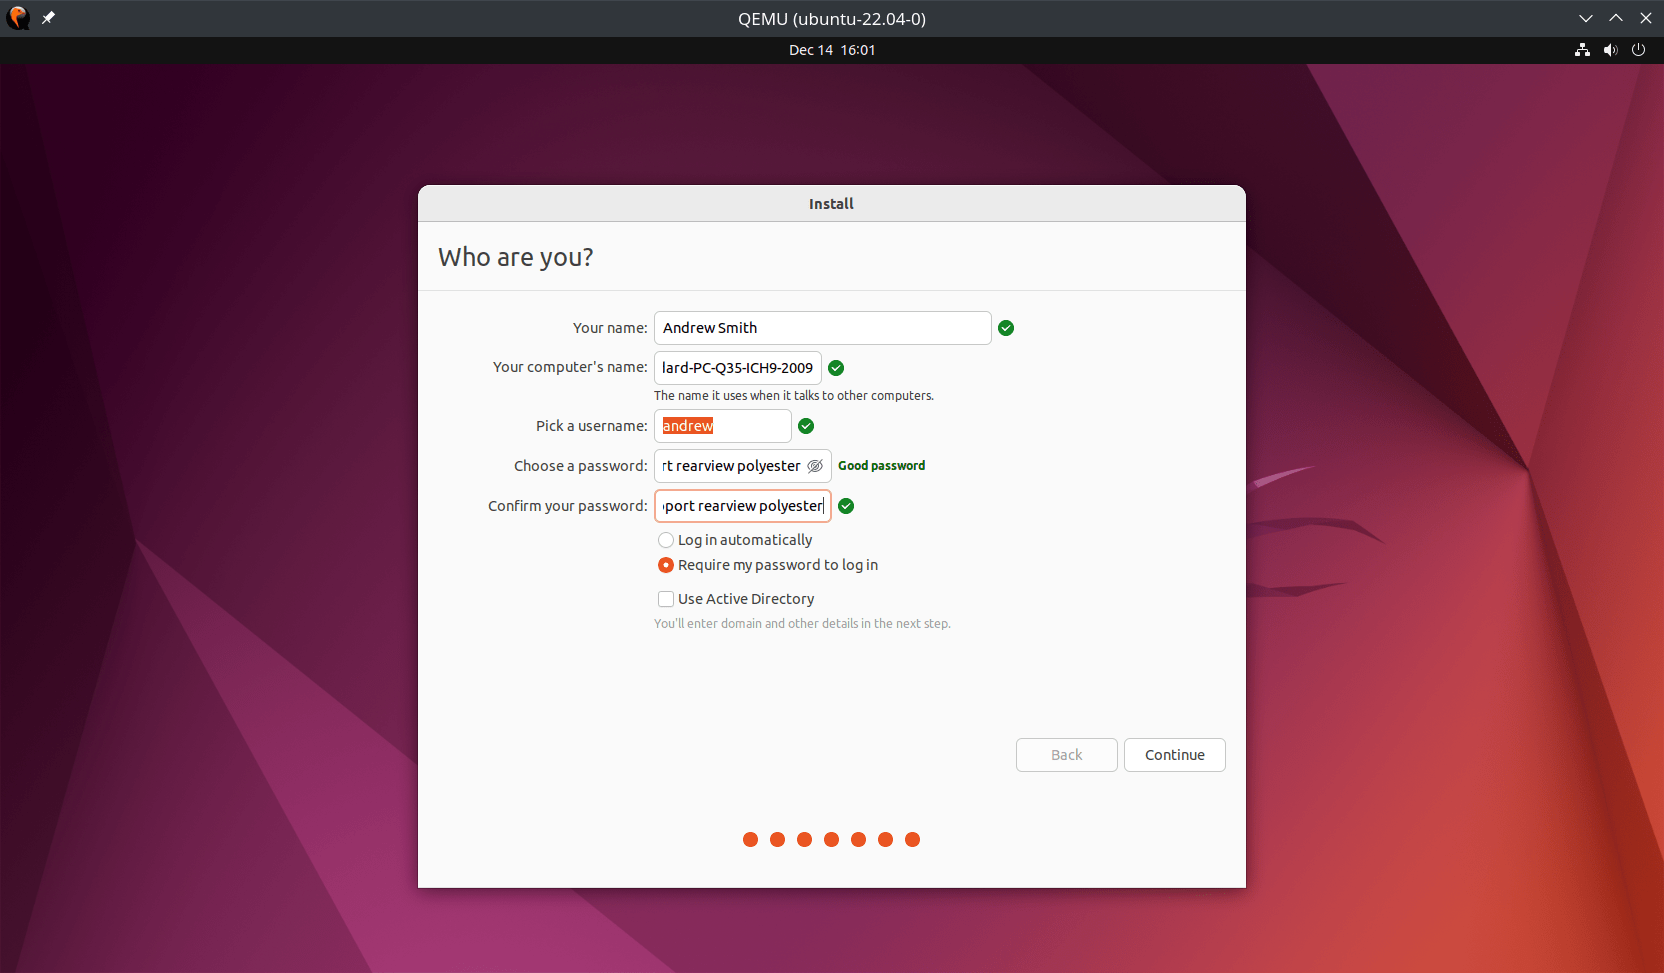
And continue on to create your own user account. Be sure to choose a secure, unique password.
After creating your account, the Ubuntu installation will start. It normally only takes a couple of minutes to complete.
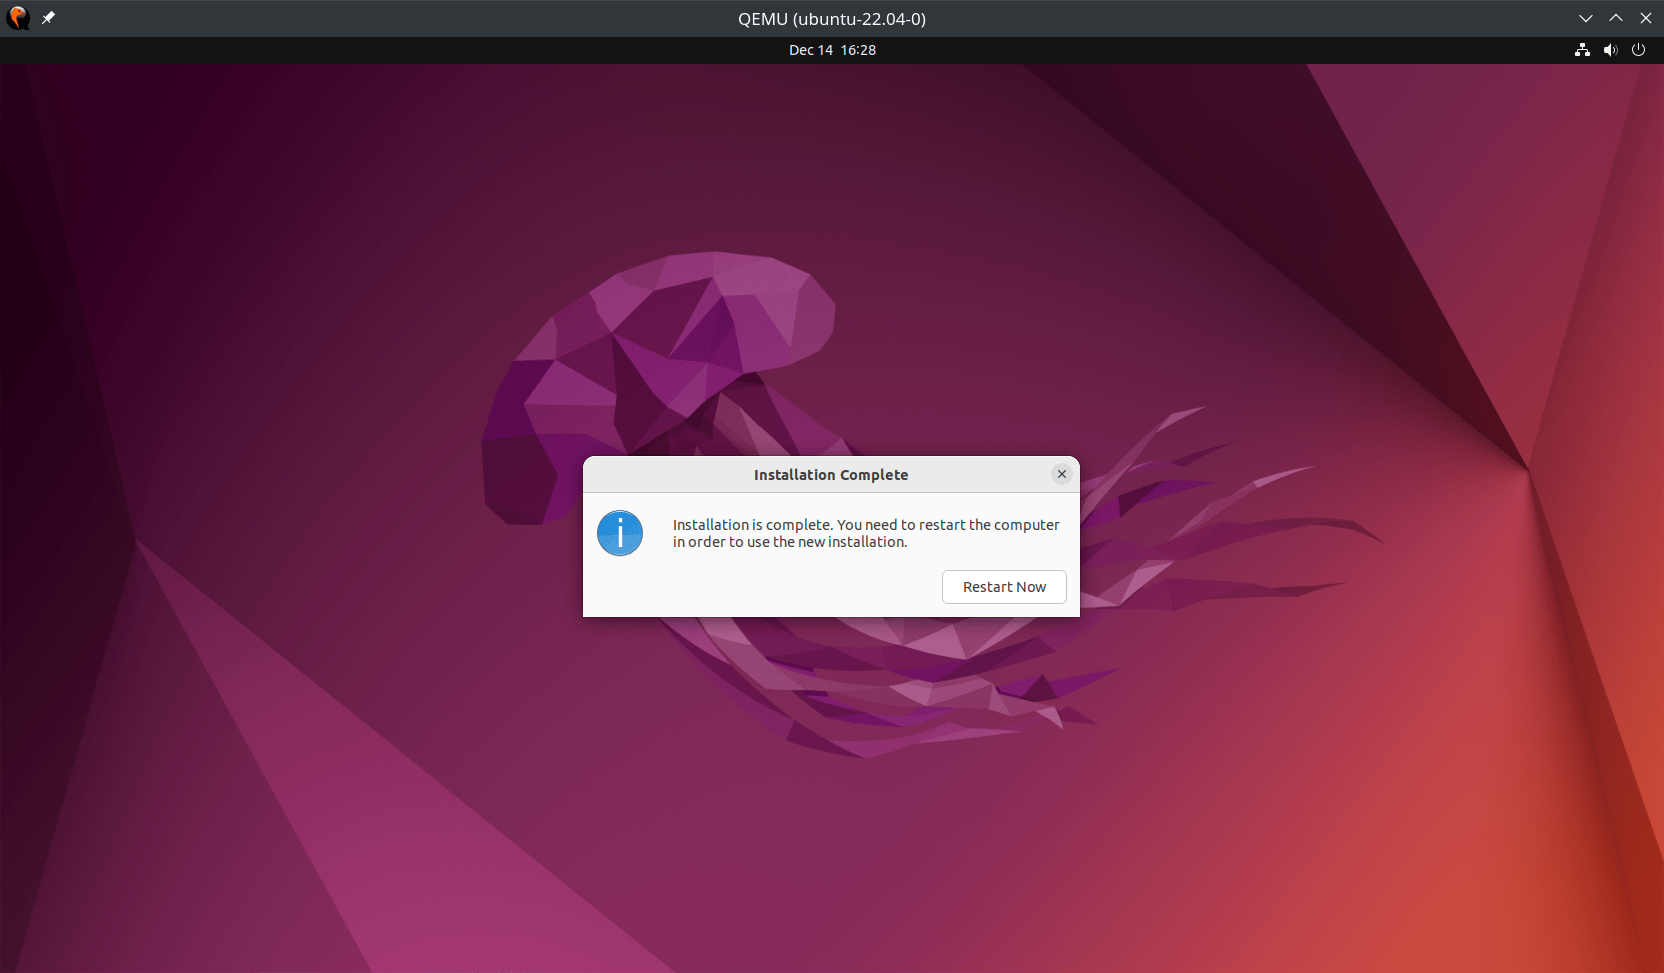
After installation has finished you will be asked to Restart Now.
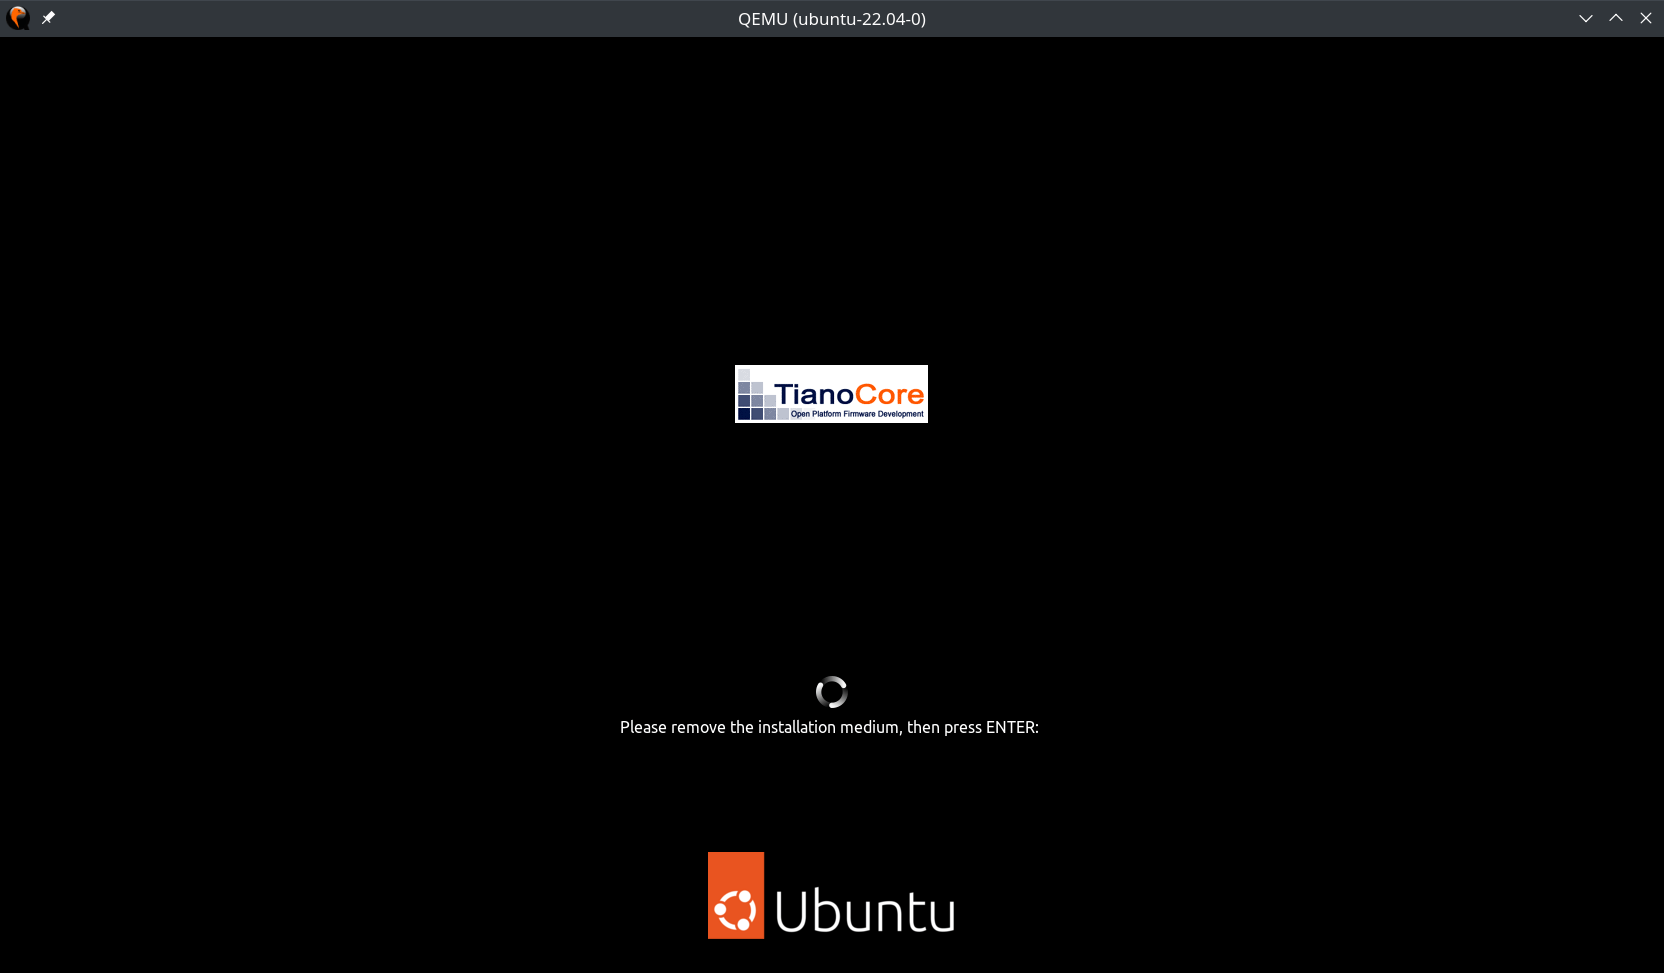
When prompted, remove the USB stick from the device and press ENTER.
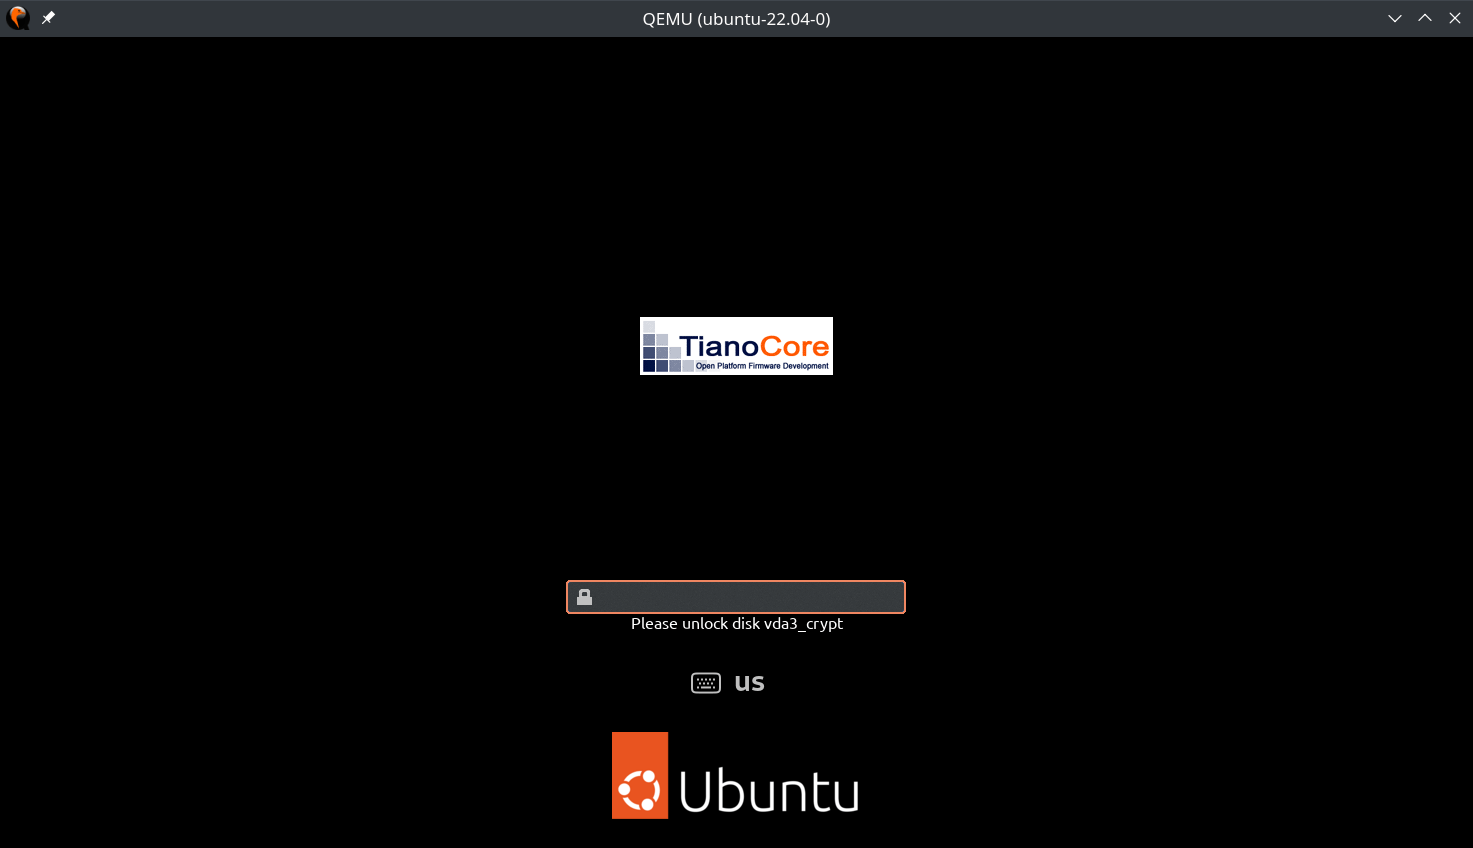
During booting you will be presented with a screen asking you to unlock the hard drive. This is the security key you used when setting up the drive. Entering the correct key here will enable decryption of the drive. If you do not remember the key, there is no way to recover data from the device.
Ubuntu will continue to load and you will shortly see the user login screen. Select your user account and enter your users password.
Install Landscape and record drive encryption information
All devices must be enrolled in Ubuntu Landscape so they can be remotely managed when required. After logging in for the first time please open the terminal application and run the following.
Find device serial number
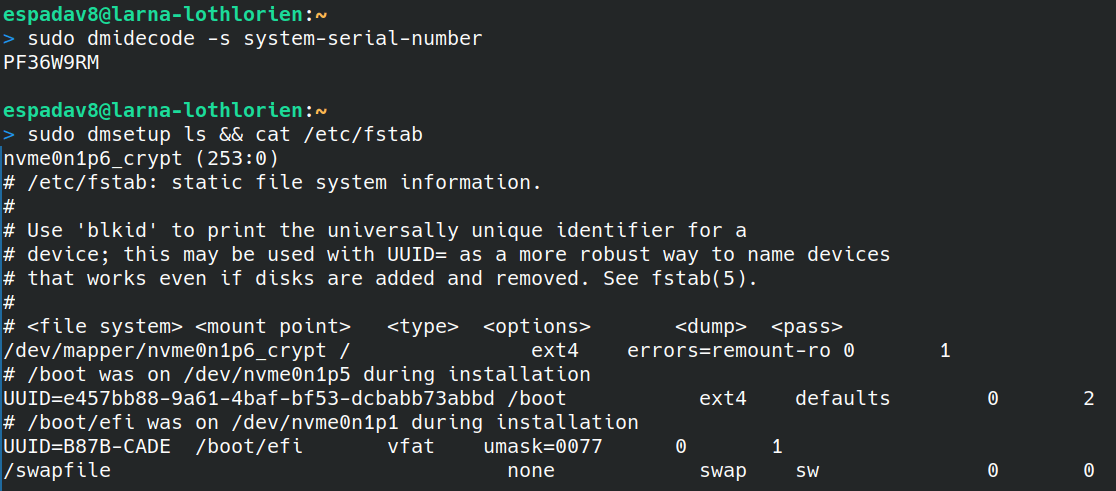
Find the serial number of the device and record it somewhere. This will be needed when registering with Ubuntu Landscape.
sudo dmidecode -s system-serial-number
Show drive encryption information
List out information about the device hard drives and show that encryption is enabled.
sudo dmsetup ls
cat /etc/fstab
Screenshot information and email IT
Take a screenshot of all the information from the previous commands and email it@intellihr.com.
Register with Ubuntu Landscape
Finally register the device with Ubuntu Landscape, using your devices serial number as the computer-title.
sudo apt update
sudo apt install landscape-client
sudo landscape-config --computer-title "<serial number>" --account-name h9878b7s
Where next?
Now Ubuntu has been installed and initial set up complete, you might want to head over to the Quick Start guide to get the intelliHR platform installed locally.
